Installation
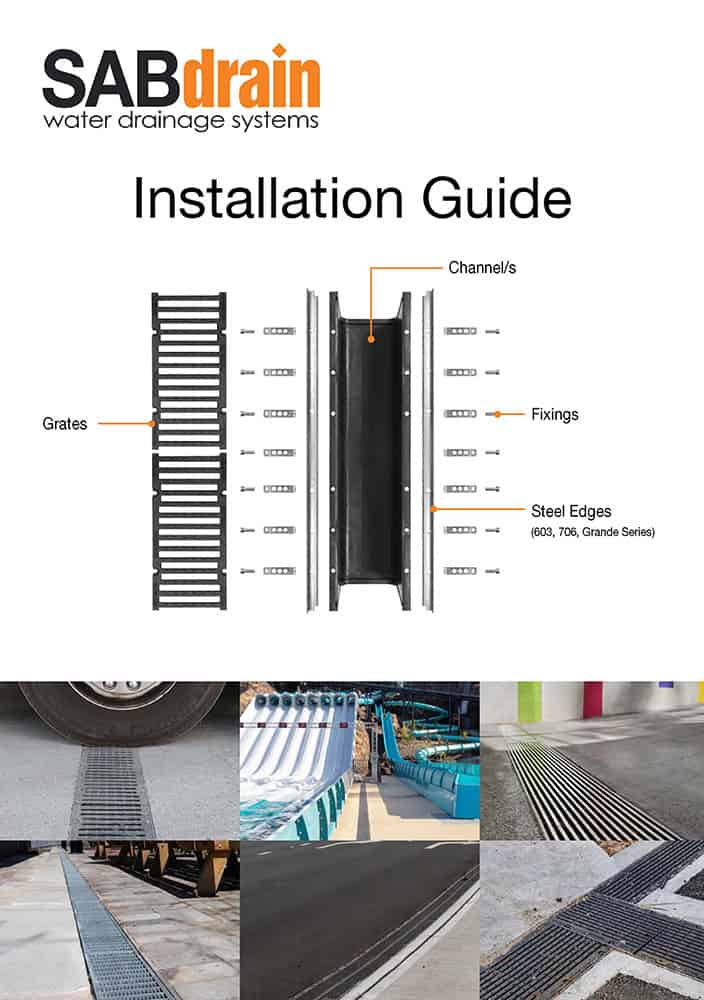
Installation Is As Easy As 1-2-3
Frequently
Asked Questions
How to create a corner/90 degree angle with SABdrain channels?
SAB channels have preset lateral connection for 90 degree joining of 2 channel units together. Allows right angles, corners, tees & crosses without any additional fittings.
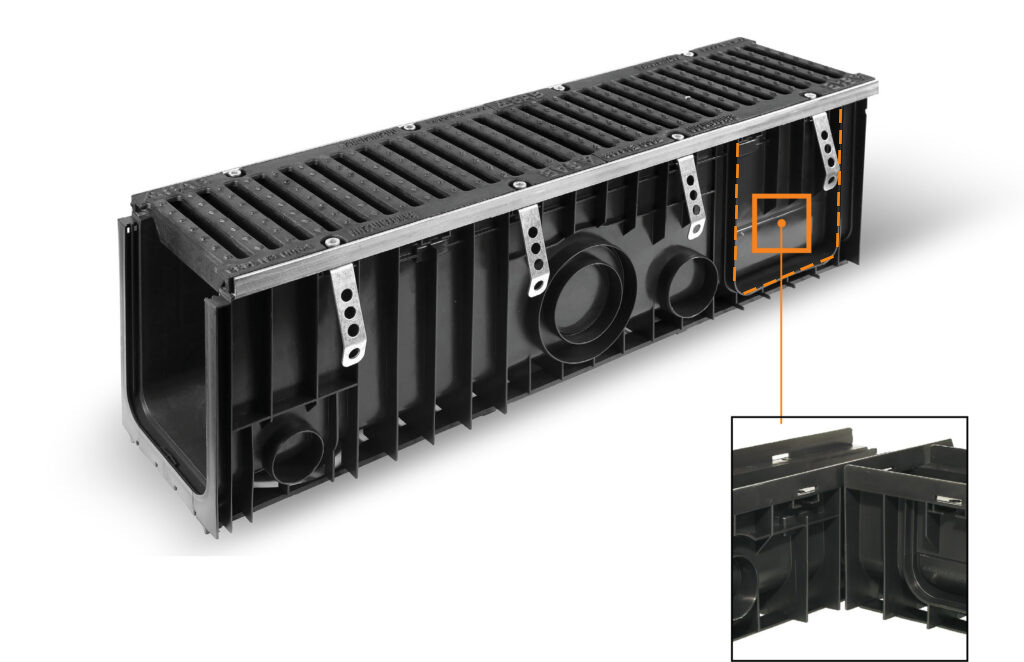
SAB channels have preset lateral connection for 90 degree joining of 2 channel units together. Allows right angles, corners, tees & crosses without any additional fittings.
Cut out the highlighted section above & join the channels.
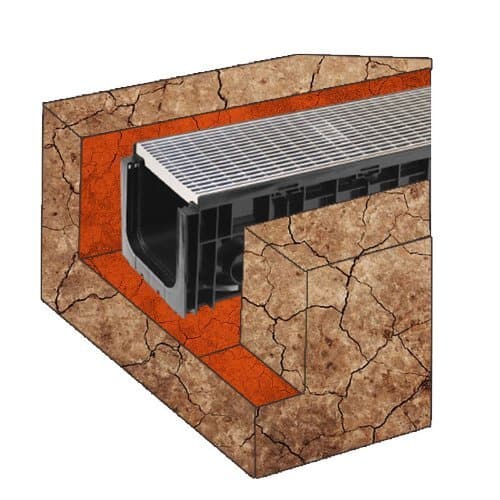
1. Excavation Design

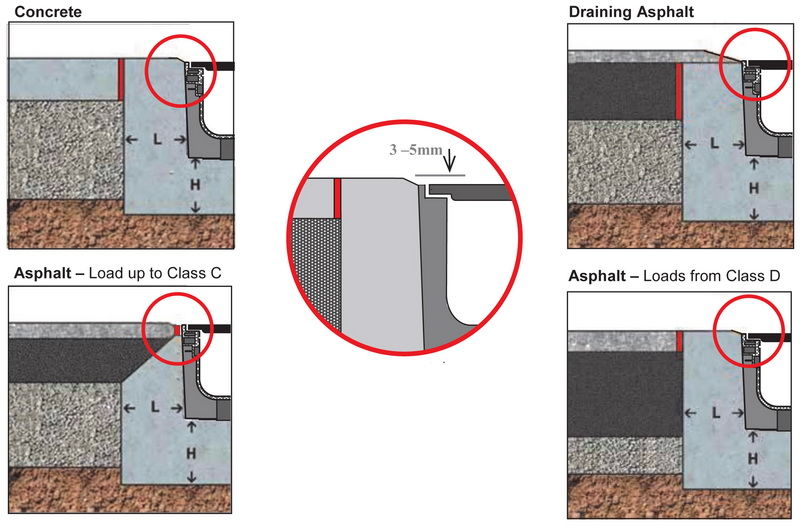
2. Concrete Base
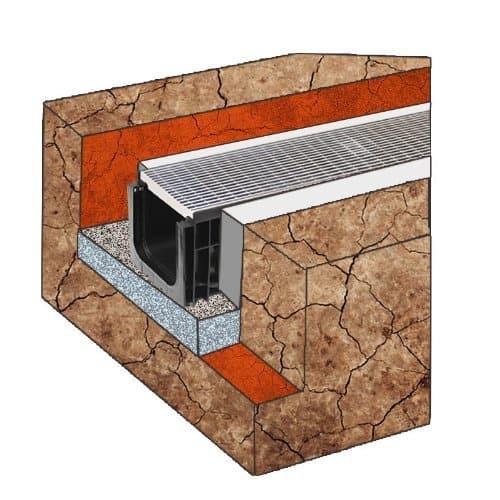
3. Channel Installation
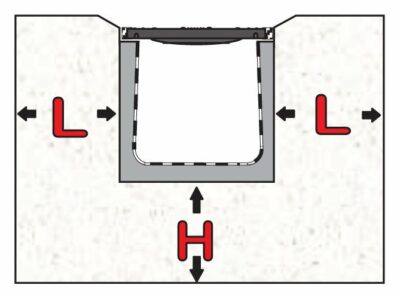
| Load Class | Class A | Class B | Class C | Class D | Class E | Class F | Class G |
|---|---|---|---|---|---|---|---|
| Concrete bed size (H) | 80mm | 100mm | 150mm | 150mm | 200mm | 200mm | 200mm |
| Concrete lateral backfill size (L) | 100mm | 100mm | 150mm | 150mm | 200mm | 200mm | 200mm |
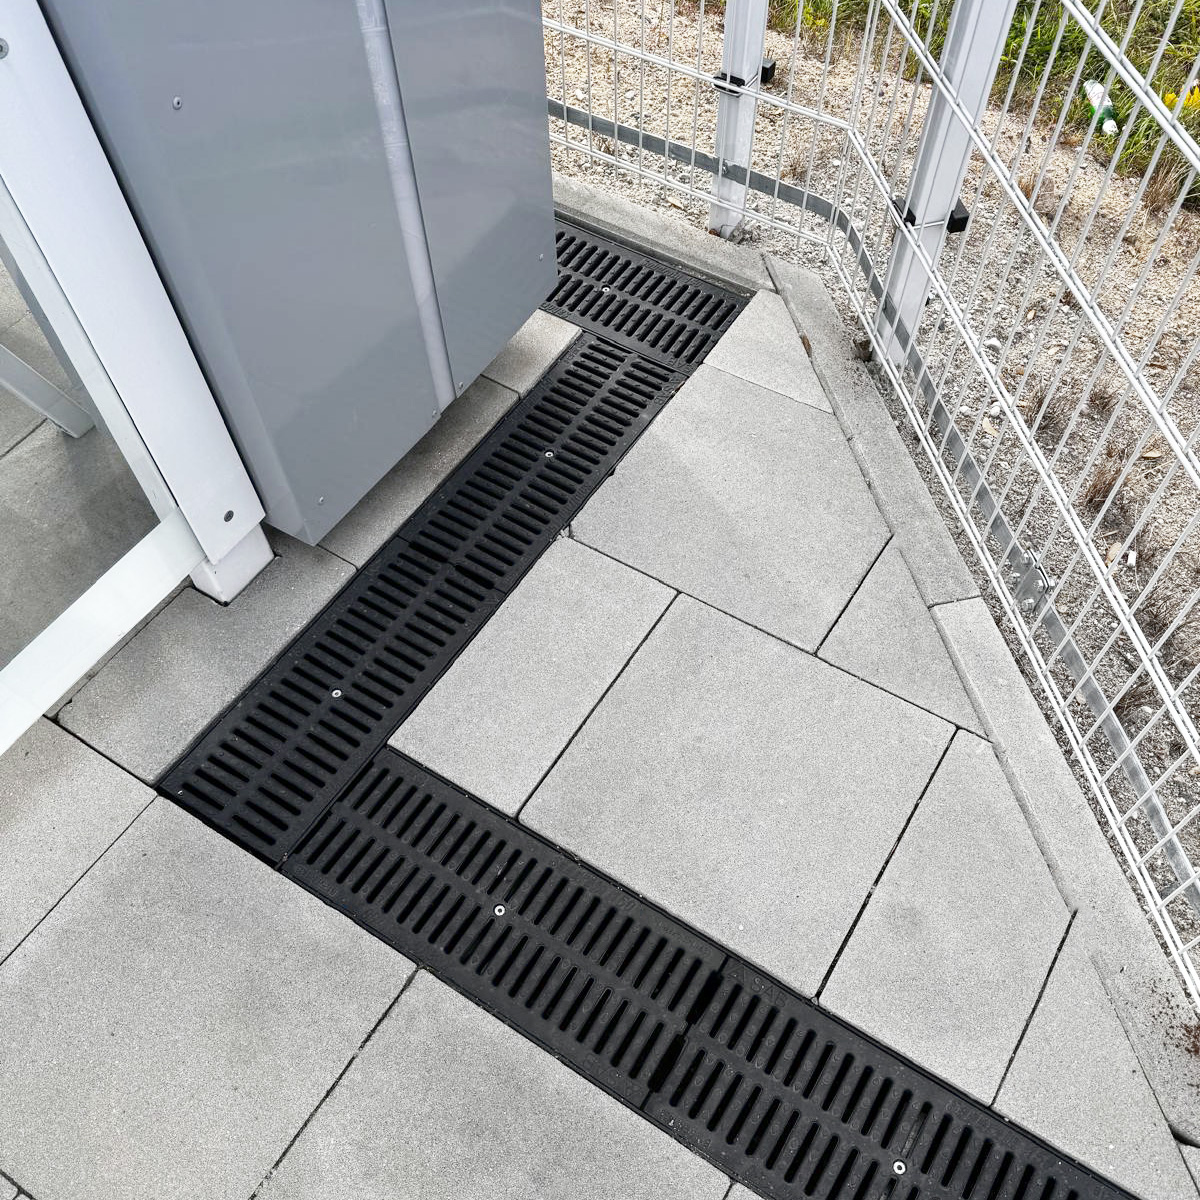
Creating a Corner/90 Degree Angle/Tees/Cross/Bends
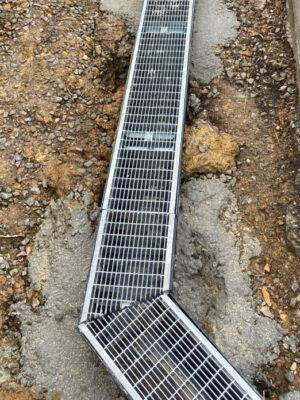
SAB channels have preset lateral connection for 90 degree joining of 2 channel units together. Allows right angles, corners, tees & crosses without any additional fittings.
Cut out the highlighted section above & join the channels.
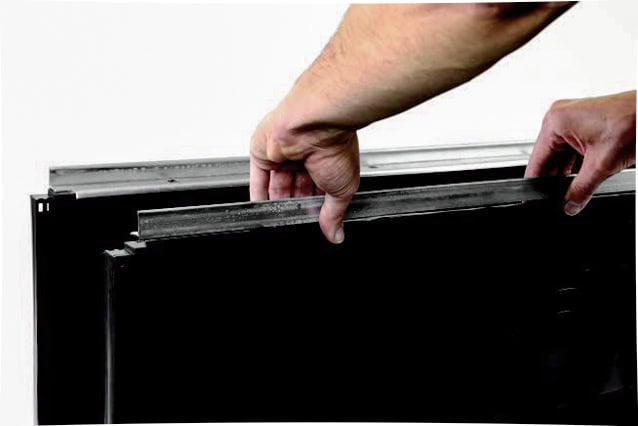
Click-Clack Channels
Slot Drain Installation
Assembly of Grates

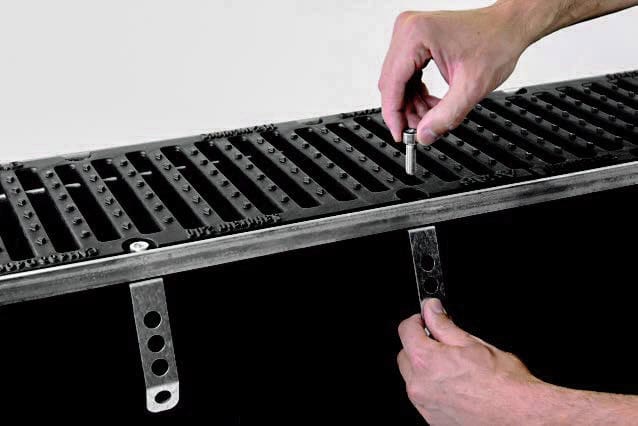
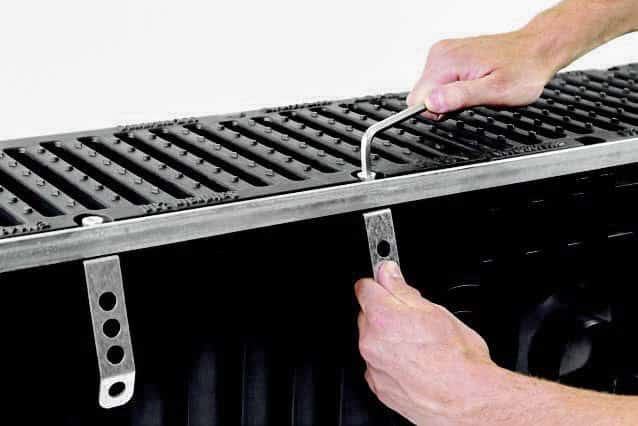
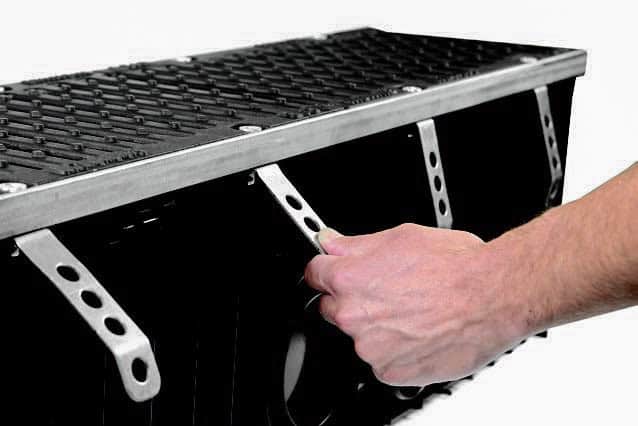
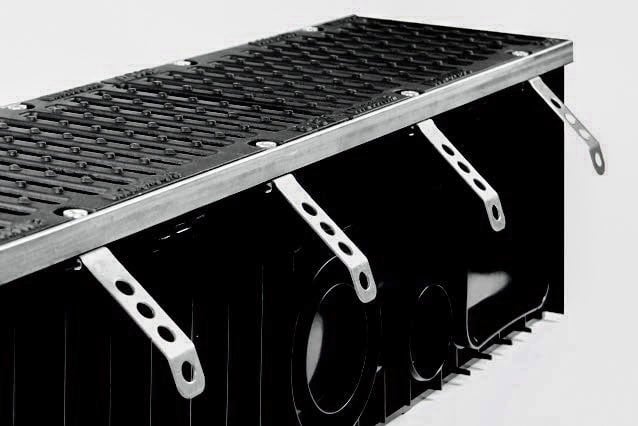
Install Clips
The install clip is designed to support and clip two channels together, ensuring installation is smooth, easy and quick. With a concept of one clip to fit all channels ,this clip design from Italy can be flipped to meet the requirements and sizes from SAB500, SAB600, SAB700 & the SAB900 series.