Installation
Installation Is As Easy As 1-2-3
SABdrain Tip: To keep grates clear of concrete during installation, flip them upside down in the channel and turn back around once concreting is complete. Or, install a temporary timber grate whilst concreting.
Frequently
Asked Questions

1. Excavation Design
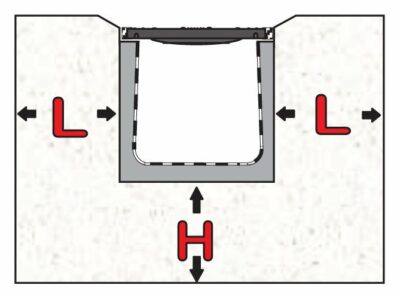
The size of the trench will need to take into account the dimension and rating of the channel in determining the depth and width of the trench (See Table). The trench should be excavated from the lowest point of discharge to the highest point. The base should be compacted well particularly if the ground is soft.

2. Concrete Base
Lay the concrete base to the recommended thickness as specified in table 2.10 using a minimum strength of 20 MPA. Allow enough gradient in the base for water drainage.

3. Channel Installation
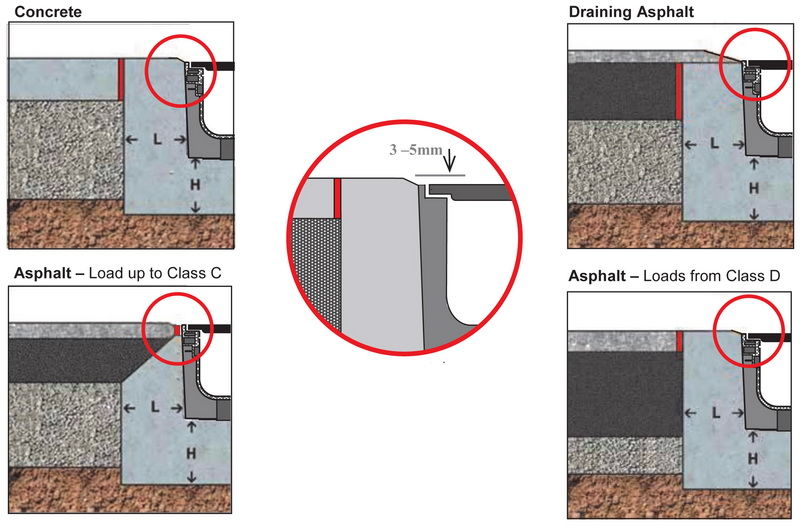
Assemble the channels including fixing the grates to the channels and position inside the trench starting from the lowest point of discharge ensuring that each channel unit is locked securely together and aligned. Place concrete along the sides of the channel making sure that it worked into the ribbing along the base as well as sides paying particular to the grate support edge.
| Load Class | Class A | Class B | Class C | Class D | Class E | Class F | Class G |
|---|---|---|---|---|---|---|---|
| Concrete bed size (H) | 80mm | 100mm | 150mm | 150mm | 200mm | 200mm | 200mm |
| Concrete lateral backfill size (L) | 100mm | 100mm | 150mm | 150mm | 200mm | 200mm | 200mm |
Creating a Corner/90 Degree Angle/Tees/Cross/Bends
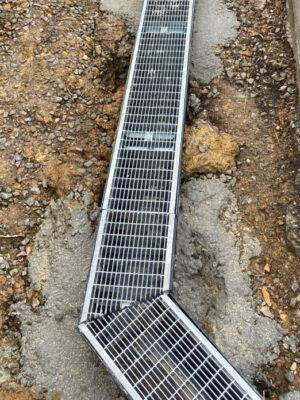
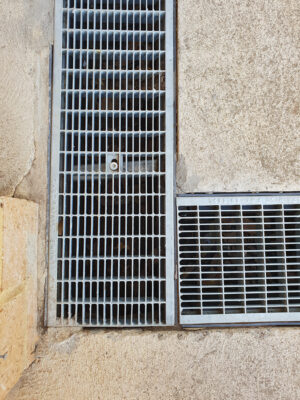
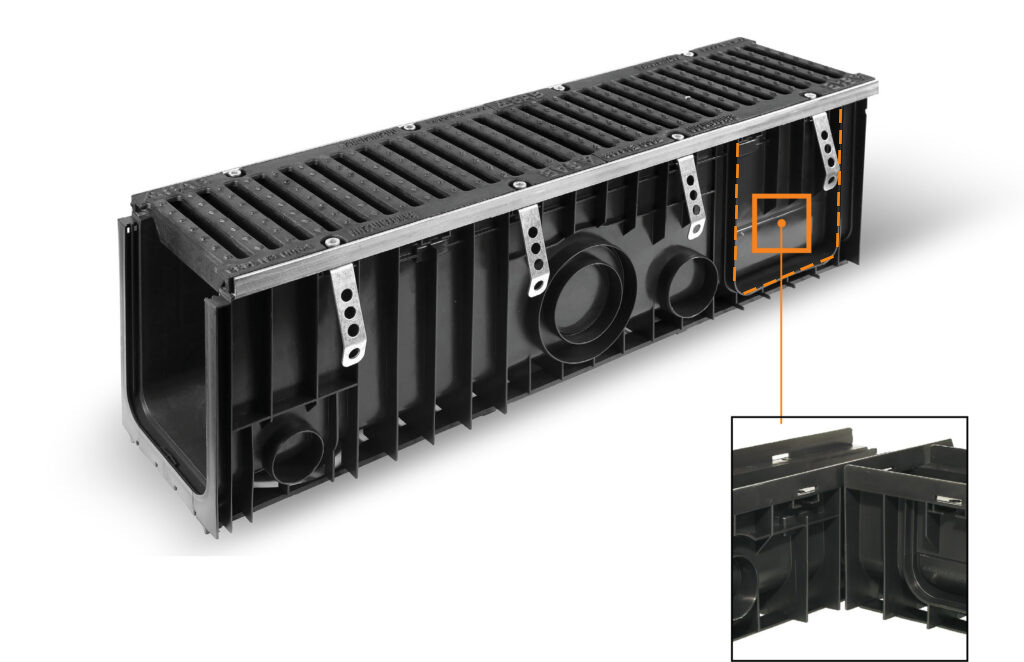
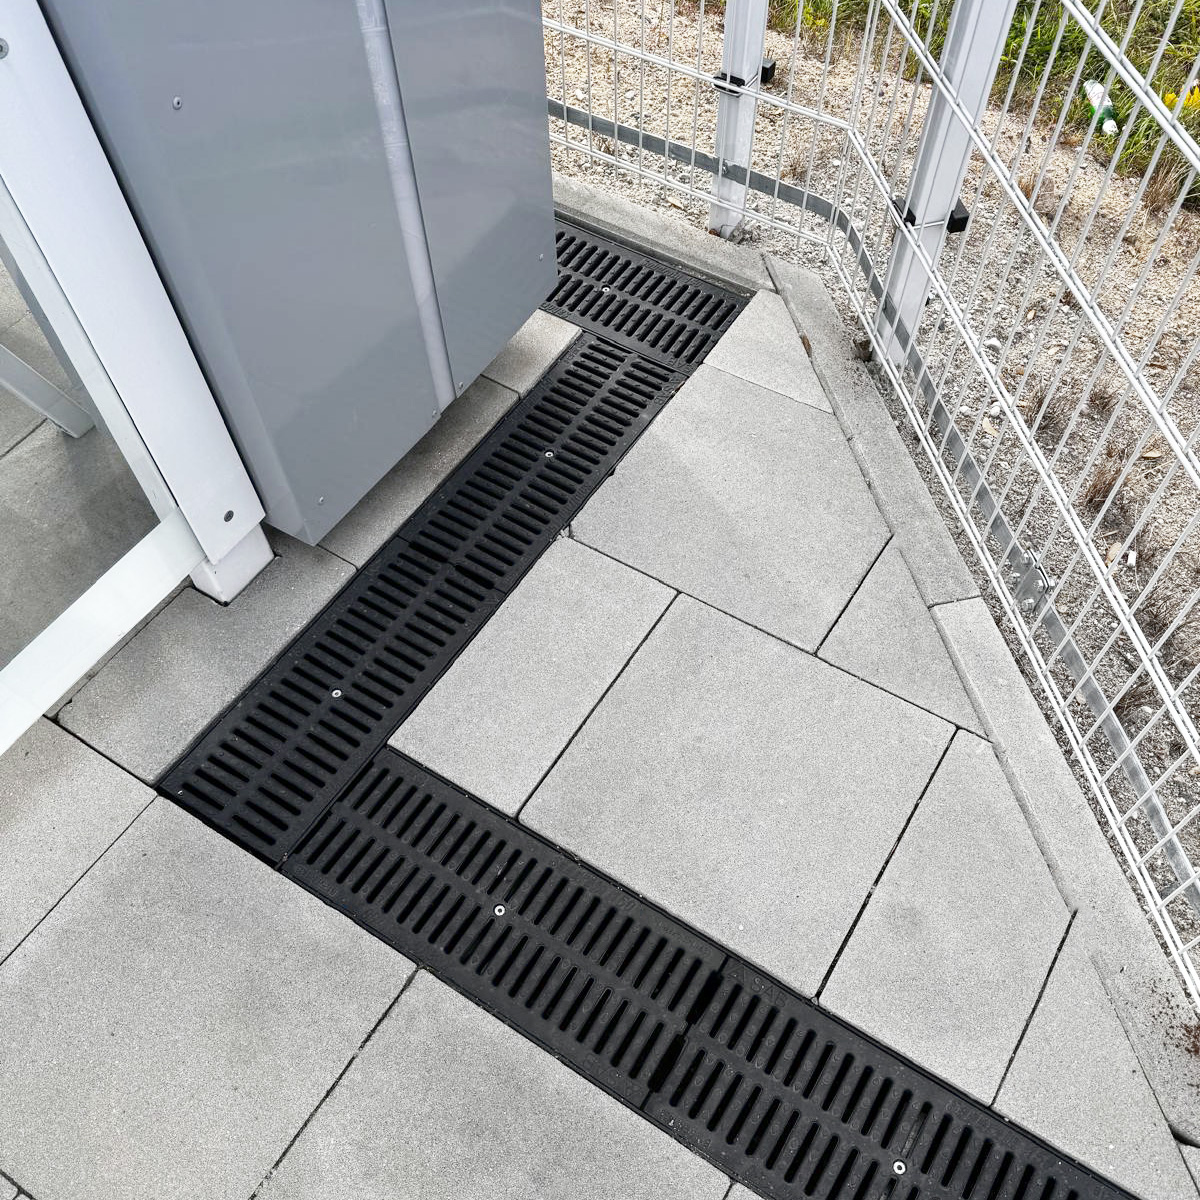
SAB channels have preset lateral connection for 90 degree joining of 2 channel units together. Allows right angles, corners, tees & crosses without any additional fittings.
Cut out the highlighted section above & join the channels.
Click-Clack Channels
Slot Drain Installation
Assembly of Grates
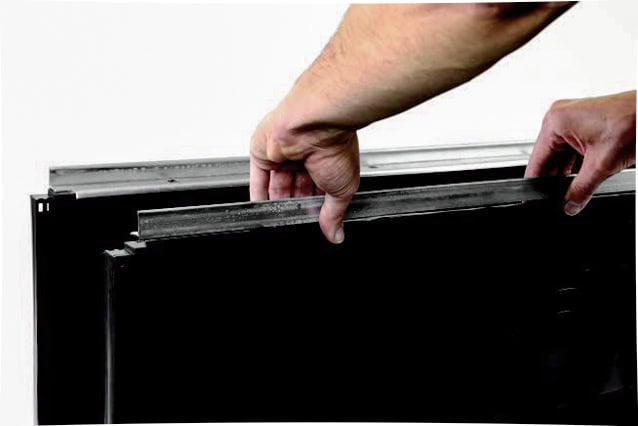
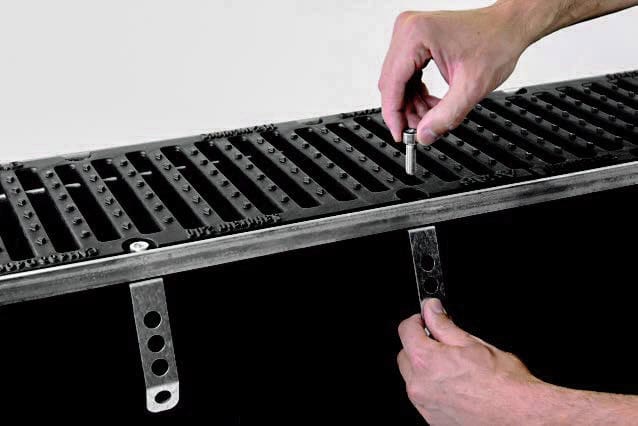
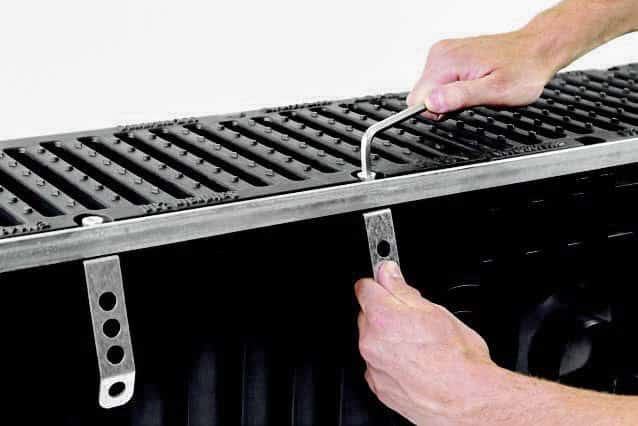
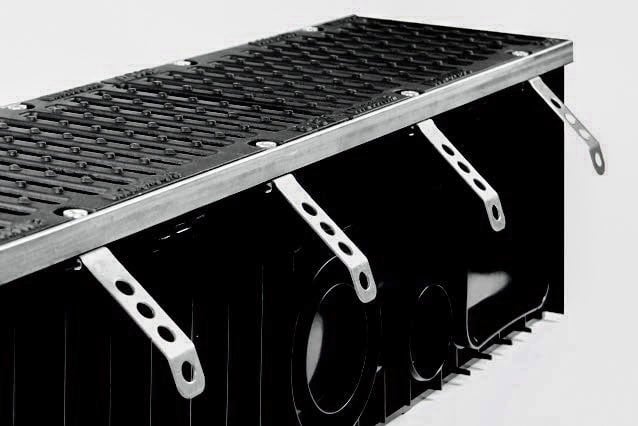
Install metal edges if required. Assemble grates & lockdown. Screw and tighten bolts to secure grates and lockdown pieces, ensuring not to tighten screws too much to prevent snapping. Widen anchors to an inclination of 45 degrees from the channel. It is extremely important to concrete with grates inside the channel to prevent bowing. It will be impossible to install grates after concrete has set.
Install Clips
The install clip is designed to support and clip two channels together, ensuring installation is smooth, easy and quick. With a concept of one clip to fit all channels ,this clip design from Italy can be flipped to meet the requirements and sizes from SAB500, SAB600, SAB700 & the SAB900 series.
